We use cookies for personalizing content and ads and providing social media features. Your usage information on our website will be used for social media, advertising, and traffic analytics, or shared with our partners. Clicking "Accept" means you agree to use our cookies .
You may like to capture beautiful moments, events and celebrations on your phone or camera. Or watching your favorite movie on a lazy weekend. Most of these videos are saved in .mp4 format. Any corruption in them can cause trouble for all users.
If you are experiencing a similar situation and are looking for ways to repair your corrupted video files, then you have come to the right place. In this article, I will share with you 2 free tools to repair corrupted video file on Windows 11.
Tool 1: Use FFmpeg re-encoding to repair corrupted Video file
Download and extract the FFmpeg package
Step 1: Download FFmpeg program zip file, click on the ffmpeg-master-latest-win64-gpl-shared.zip link to download the program zip to your D drive, or you can download it to another drive.
Step 2: Open D drive in the File Explorer, then select the FFmpeg program zip package ffmpeg-master-latest-win64-gpl-shared.zip you just downloaded, then click Extract all in the top right.
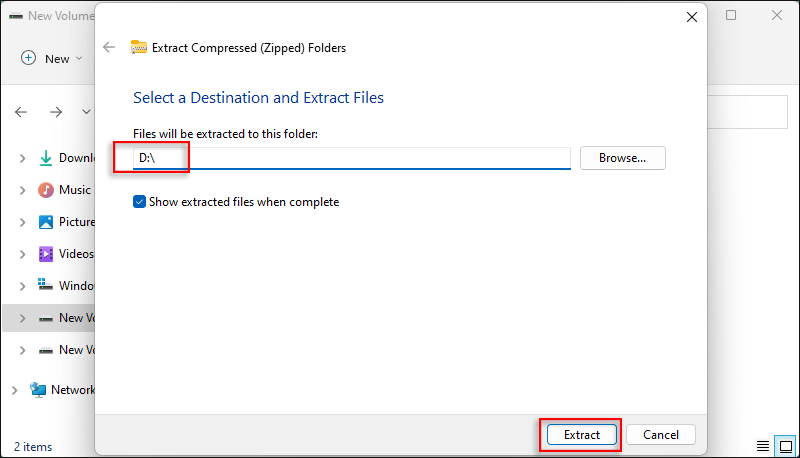
Step 3: Modify the unzip path to: D:\, then click Extract.
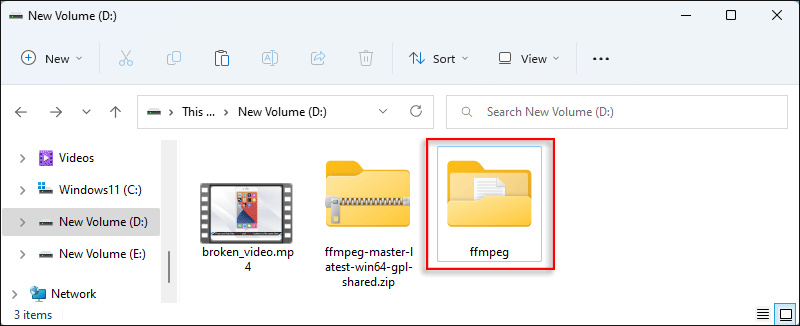
Step 4: After finishing unpacking the FFmpeg program archive, rename the ffmpeg-master-latest-win64-gpl-shared folder as ffmpeg.
Use the FFmpeg program command to view and repair corrupted videos
Step 1: Click Search on the taskbar to open the panel, then type cmd in the search box, find the Command Prompt App and click Open.
Step 2: Enter the command:D:, then press Enter to enter the D drive.
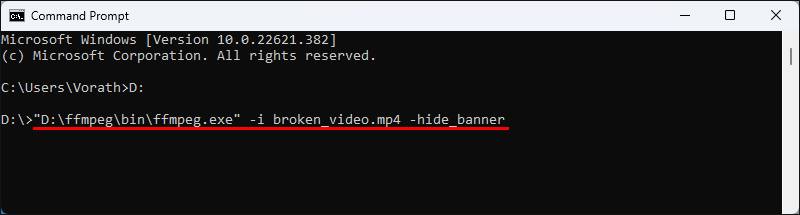
Step 3: Enter the command: "D:\ffmpeg\bin\ffmpeg.exe" -i broken_video.mp4 -hide_banner, then press Enter to view information about the broken video file.
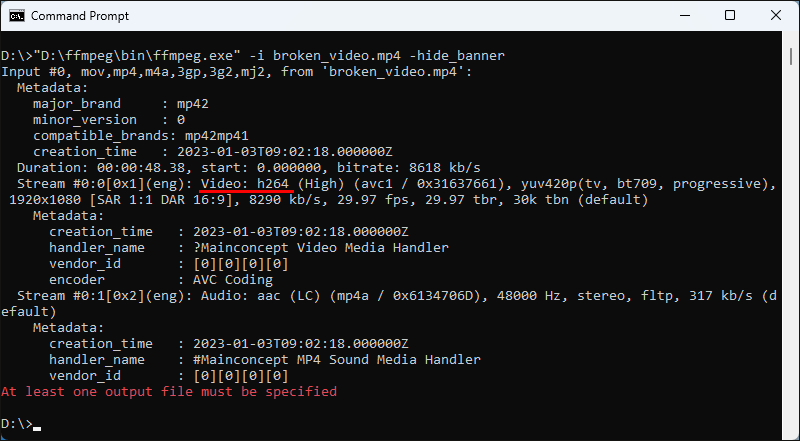
Step 4: You can see the video encoding of the corrupted video broken_video.mp4 as: h264.
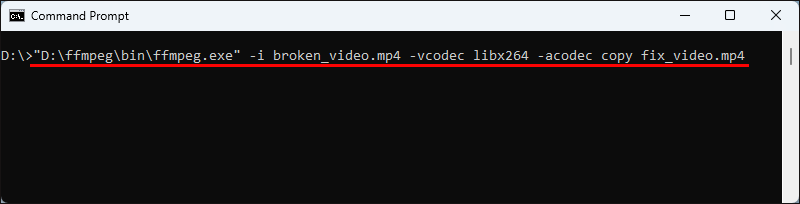
Step 5: Enter the command: "D:\ffmpeg\bin\ffmpeg.exe" -i broken_video.mp4 -vcodec libx264 -acodec copy fix_video.mp4 and press Enter to re-encode the broken video file.
-vcodec libx264 means: the video encoder is libx264.
-acodec copy means: audio is not re-encoded, it is directly copied from the original encoding.
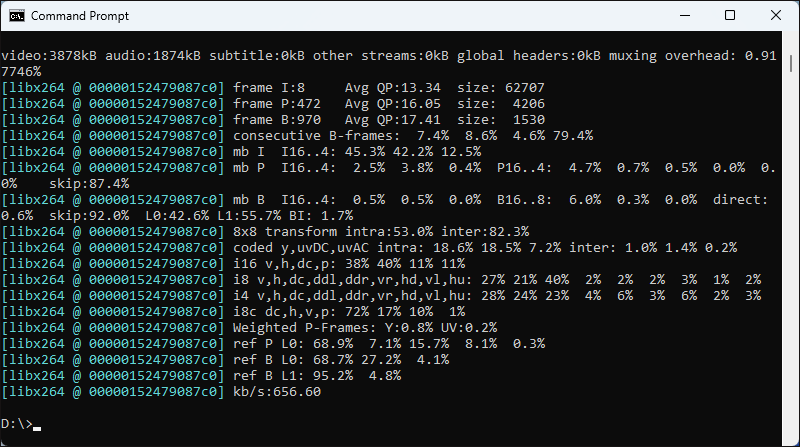
Step 6: You can see that the command prompt is encoding the program for the corrupted video.
Step 7: The figure below shows after completing the recoding.
Step 8: At this point, open File Explorer and you can see the repaired video under the same folder as the corrupted video: fix_video.mp4 is already stored here.
Tool 2: Use Untrunc to repair corrupted Video file
Download and unzip the Untrunc program zip file
Step 1: Download the Untrunc program zip archive. Click the untrunc_x64.zip link to download the program zip to your D drive, or you can download it to another drive.
Step 2: Open the File Explorer, click on the D drive, click to select the Untrunc zip package untrunc_x64.zip that you just downloaded, and then click Extract all at the top right.
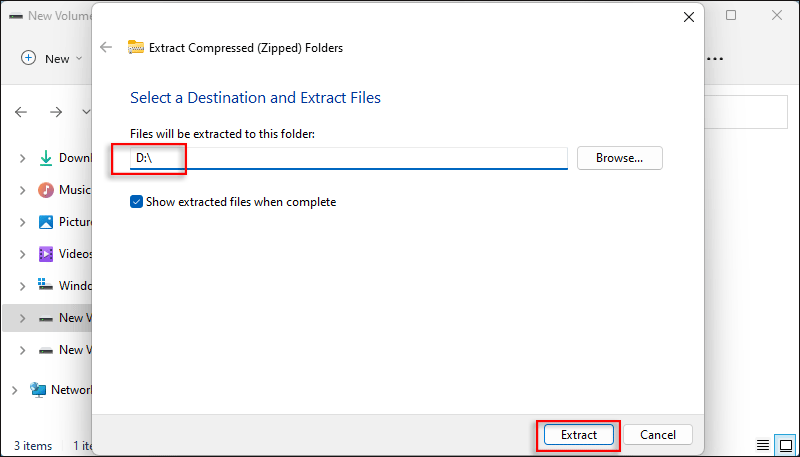
Step 3: Modify the unzip path to: D:\, click Extract to unzip the Untrunc program zip package.
Open the Untrunc program window and select the corrupted video and the sample working video to repair the corrupted video.
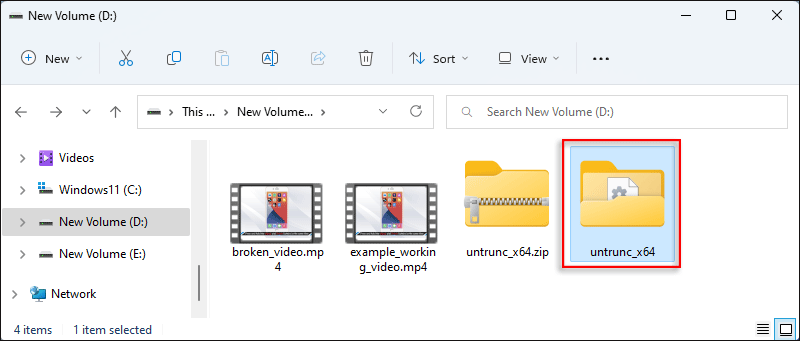
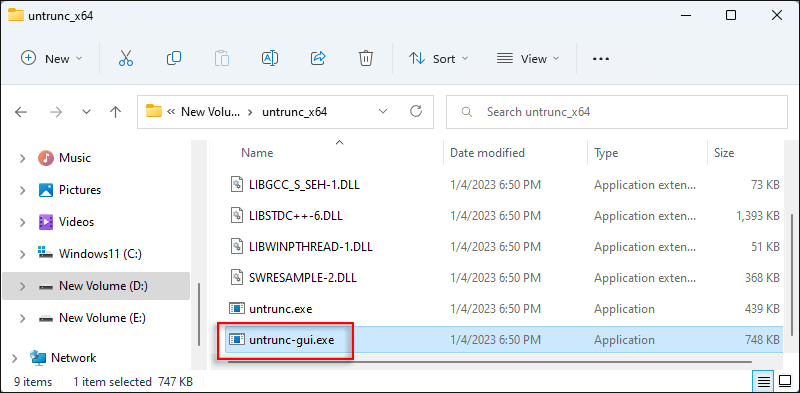
Step 1: Double-click to open the untrunc_x64 folder.
Step 2: Double-click to open the untrunc-gui.exe application.
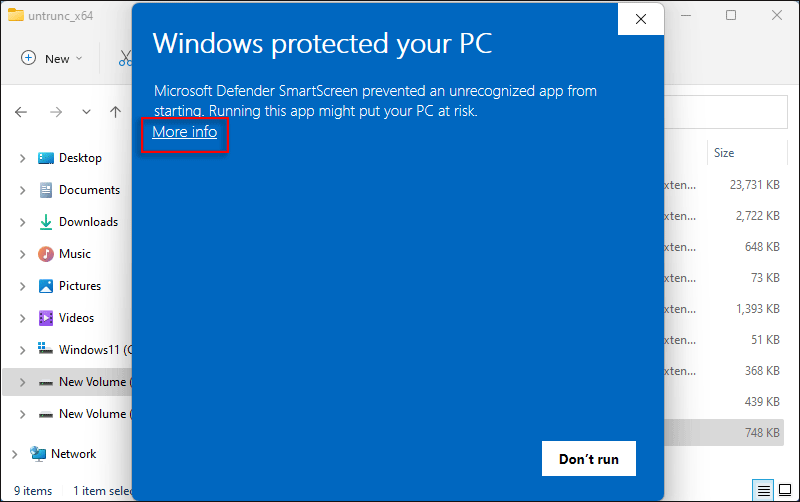
Step 3: Click on More info.
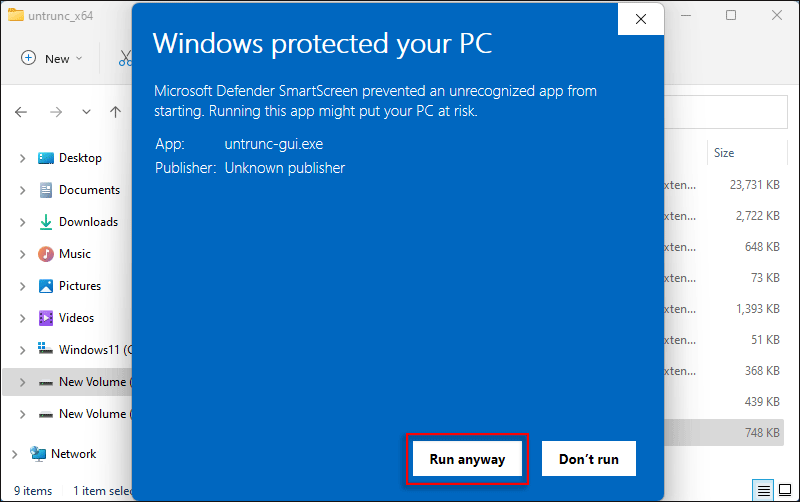
Step 4: Click on Run anyway.
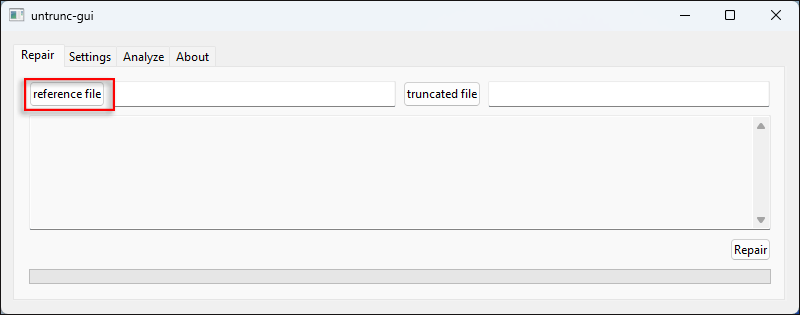
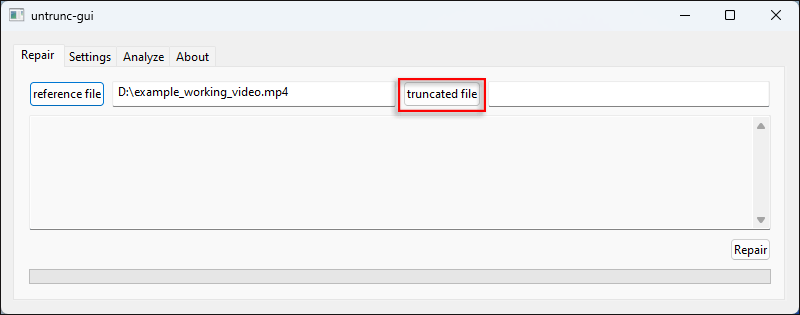
Step 5: After opening the untrunc-gui.exe application window, click on the reference file to select a sample working video.
Note: Example work videos can be similar videos, preferably from the same device, such as the same phone, camera, etc.
Step 6: Open the D drive and select a sample working video: example_working_video.mp4.
Step 7: When the selection is complete, click on the truncated file to select a corrupted video.
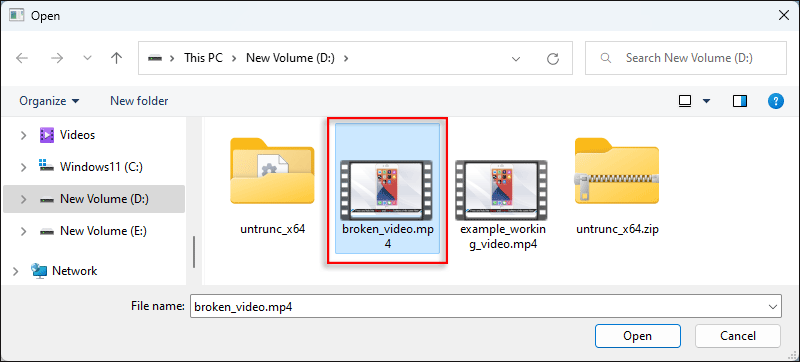
Step 8: Open the D drive and select a corrupted video: broken_video.mp4.
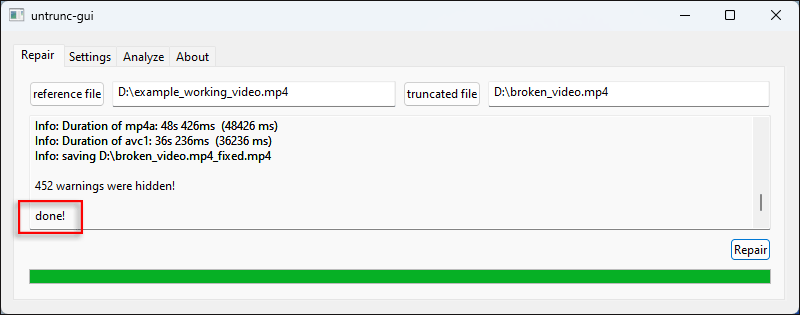
Step 9: Once the selection is complete, click Repair to start repairing the video.
Step 10: The figure below shows after completing the repair video.
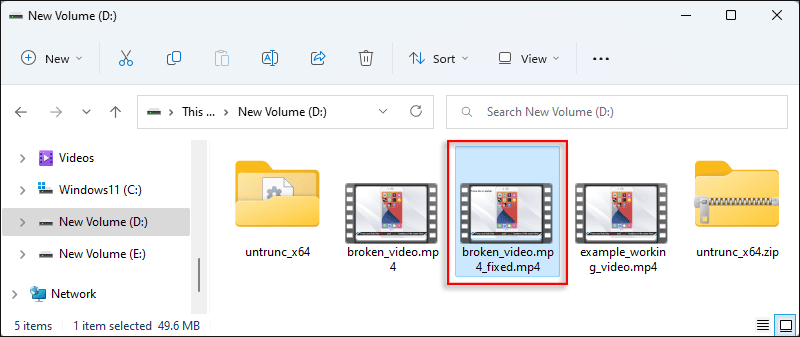
Step 11: Open the D drive in the File Explorer and you can see that the video has been saved after completing the repair: broken_video.mp4_fixed.mp4.
Tips: An Easy Way to Repair Corrupted Videos in Clicks
It seems that it is complicated to get the corrupted video fixed with the free video repair tools. If you are a beginner, it is recommended to try this easy way. iSunshare XRepair Genius makes it easy to repair the corrupted video files, including the video in formats of MP4, MOV, 3GP, and M4V.
Step 1: Open the software and click the Video Repair option. After that, hit the Add Video button.
Step 2: You can add one or several videos into the software. Then, hit the Repair button. And the software will scan and analyze the error in your video and get it fixed soon.
Step 3: A prompt tells the software successfully repaired all files. Hit the OK button.
Step 4: You can click the preview icon to check the video content. Finally, hit the save icon and select a folder to store your repaired video.