We use cookies for personalizing content and ads and providing social media features. Your usage information on our website will be used for social media, advertising, and traffic analytics, or shared with our partners. Clicking "Accept" means you agree to use our cookies .
With the increasing popularity of solid state drives, more and more users are looking to upgrade the HDD on their computers to SSD to enhance the performance of their computers.
Since the process of freshly installing Windows on a new SSD is too complicated and cumbersome, how to install an SSD to your PC without reinstalling the OS? This article will provide a step-by-step comprehensive guide.
Part 1: Preparation Before Installing an SSD in Laptop/PC
Before installing an SSD into a laptop or desktop computer, here are some recommended preparations.
1. Choose the Right SSD.
Choose a right SSD for your computer is crucial. You need to consider the following points.
Form factor: Make sure it's compatible with your device, whether it's a 2.5-inch SATA SSD, M.2 or NVMe SSD.
Capacity: Even though you can clone a larger SSD to a smaller one, you still need to consider whether the capacity of the new SSD can accommodate the space used by the old drive.
Brand and Warranty: Choose a brand that offers reliable products with good warranty terms, otherwise an inferior SSD is likely to slow down your computer.
2. Backing Up Your Important Data.
Normally, data should not be lost during the process of cloning a drive to a new SSD. However, to make sure everything is foolproof, if you have particularly important files, it's recommended that you back them up to an external hard drive, cloud storage or backup service first.
3. Choose a Reliable Cloning Tool
Using a reliable cloning tool is key if you want to smoothly and completely copy all the data on your HDD to your SSD, including system settings, installed programs and personal data. Compared to other migration methods (e.g. creating installation media), cloning will save you more steps and time.
Part 2: Cloning Your Existing Drive to New SSD
Windows does not come with a disk cloning tool, so you need to use third-party software. iSunshare CloneGo is a good choice. It supports entire disk cloning, copying partitions or only migrating Windows systems, and allows you to backup data on the disk to an external drive.
iSunshare Reliable Disk/Partition Clone Software
Upgrade m.2 ssd without reinstalling windows
Disk to disk clone without data loss
Perform the disk clone without booting into Windows
Use a SATA-to-USB cable or external box to connect the SSD to your laptop. For desktops with multiple card slots, you can install the SSD directly to your computer.
The first time you use a brand new SSD, you need to initialize it first.
1. Type "Disk Management" in the Windows search bar and select the matching option.
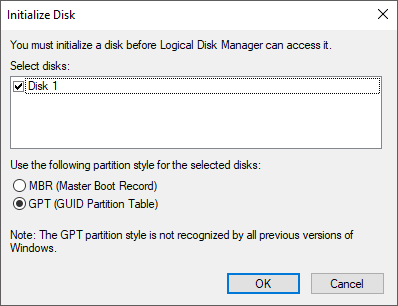
2. Locate and right-click on your new SSD in Disk Management and select "Initialize Disk".
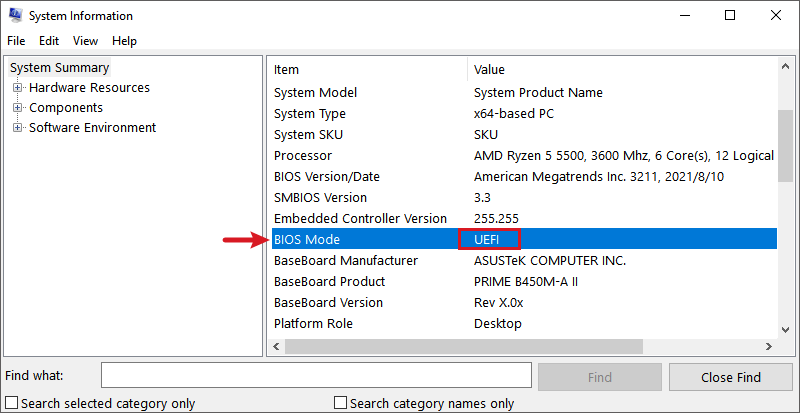
3. Next, select the disk partition style, which must be compatible with your computer's boot mode. You can press "Windows + R", type "msinfo32" and press Enter, in the pop-up window, locate the "BIOS Mode" item, and you will see the boot mode as "Legacy" or "BIOS".
Note:
If your computer's boot mode is Legacy BIOS, select MBR; if it is UEFI, select GPT.
Step 2: Launch CloneGo and Start Cloning
Now you can launch iSunshare CloneGo, and start to migrate your disk data to the new SSD.
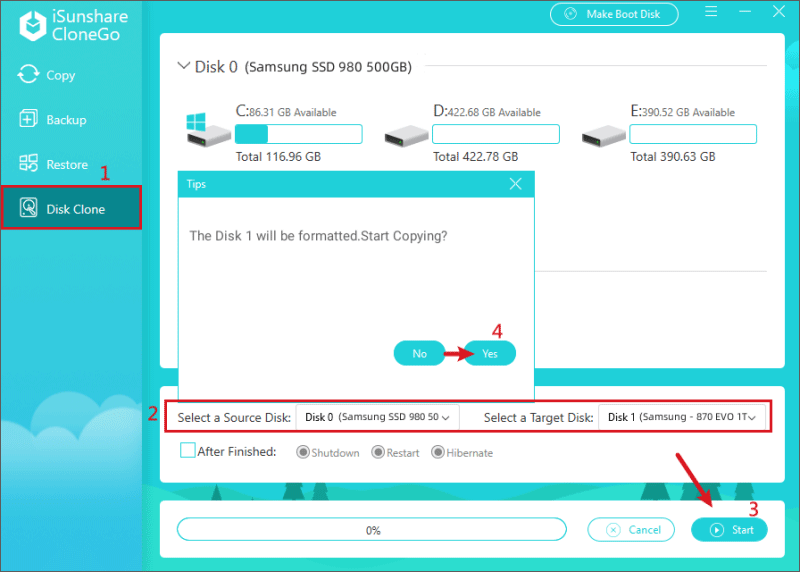
1. If you want to clone the whole disk, click "Disk Clone" in the main console of the software; if you just want to migrate Windows or some partitions to the new SSD, click "Copy" option.
2. Select the old drive as the source disk and then select the new SSD as the destination disk. Next, click "Start" and a pop-up window will prompt that all data on the SSD will be formatted during the cloning process. If you are sure, click "Yes" to continue.
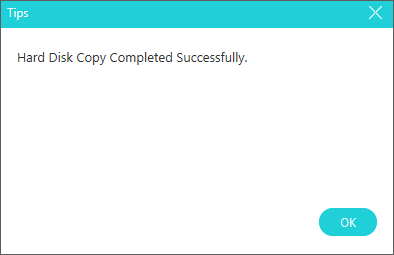
3. When the cloning process is finished, the software will show you "Hard Disk Copy Completed Successfully" message.
Step 3: Installing an SSD
After completing the data transfer between disks, now, you need to install the new SSD in your computer.
1. Turn off the computer and disconnect all of its connecting cables.
2. Access to the internal components of the device.
For laptops: Use a screwdriver to remove the screws that secure the back cover.
For desktop computers: Remove the side panel of the case directly.
3. Uninstall the current HDD, then install the new SSD into the computer and secure it.
Part 3: Configuring BIOS Settings (Optional)
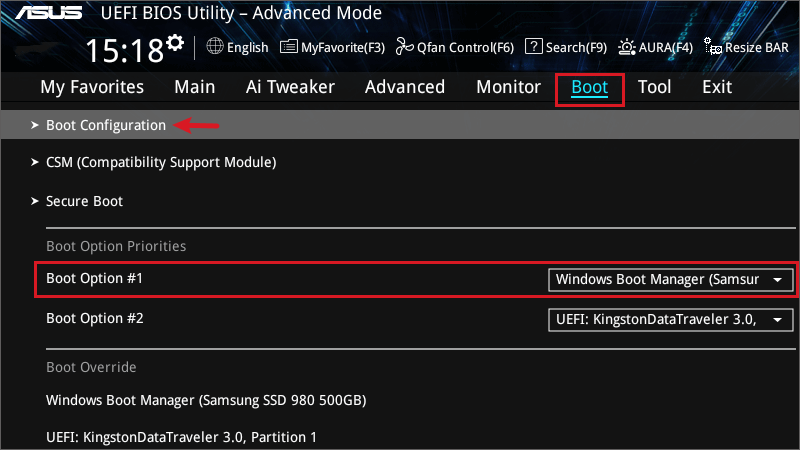
For desktop computers with more than one available bay, if you choose to keep both the original disk and the new SSD, then you will need to reset the boot options of the configured BIOS.
1. Boot your computer and press F10 (or F2, F10, DEL, or ESC) to enter the BIOS setup screen.
2. Use your keyboard's arrow keys to navigate to the boot menu and select the new SSD as the primary boot disk.
3. Save the changes and exit the setup, then the computer will boot into Windows from the new SSD.
Conclusion
If you want to improve the performance of your computer, then upgrading its disk from HDD to SSD is one of the most effective ways. This guide shares the detailed process of installing an SSD into your computer, and it should work with most of the operating systems, including Windows 11/10/8/7. Hope this guide is useful for you.