Turn on Windows feature .NET Framework is the necessary step to provide software requirements to install other programs or tools on your computer, such as install Microsoft SQL Server. It is the requirement for SQL Server 2012 and it is no longer installed by SQL Server Setup.
Now see how to install it on Windows 7 and 8 if you prepare to install SQL Server 2012 on Windows 7/8 computer.
Part 1: Turn on Microsoft .NET Framework 3.5.1 in Windows 7 Computer
1. Open Control Panel.
Click Start button at the left bottom side of Windows 7 computer desktop. And click “Control Panel” in the Start programs.
2. Choose “Programs” and click it.
3. In new window, click “Turn on Windows features on or off” under “Program and Features” option.
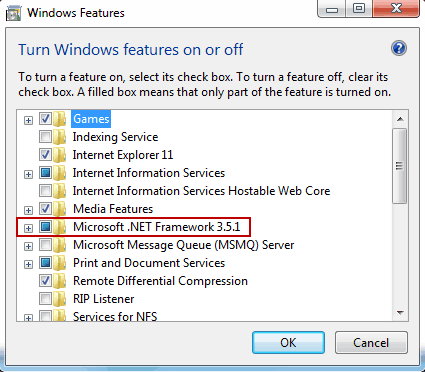
4. Browse Windows Features window, and check “Microsoft .NET Framework 3.5.1” box.
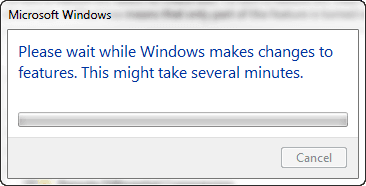
Then a dialog will pop up and ask you to wait for several minutes.
A few minutes later, you will see the box in front of .NET Framework is filled. It means that Net Framework 3.5.1 has been turned on.
Part 2: Turn on .NET Framework 3.5 in Windows 8 Computer
If you run SQL Server Setup program on a computer with the Windows Server 2012 or Windows 8 operational system, the Setup will automatically download and installs the .NET Framework 3.5 SP1. This process requires internet access. If there is no internet access during SQL Server installation, you need to download and install .NET Framework 3.5 or turn on .NET Framework Windows features before running SQL Server Setup. Now see the following steps to download and install .NET Framework 3.5 in Windows 8 computer.
Tip: How to Install .Net Framework 3.5 in Windows Server 2012 R2
1. Turn to Control Panel – Programs.
2. Choose “Turn Windows feature on or off” under Programs and Features option.
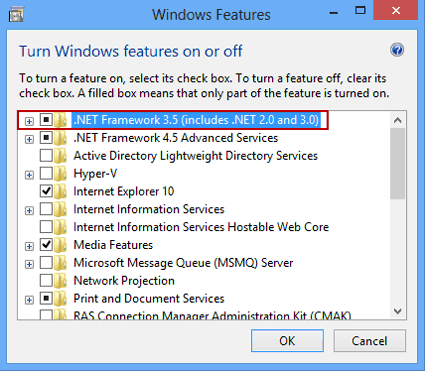
3. Check “.NET Framework 3.5 (includes .NET 2.0 and 3.0)” box. Click OK.
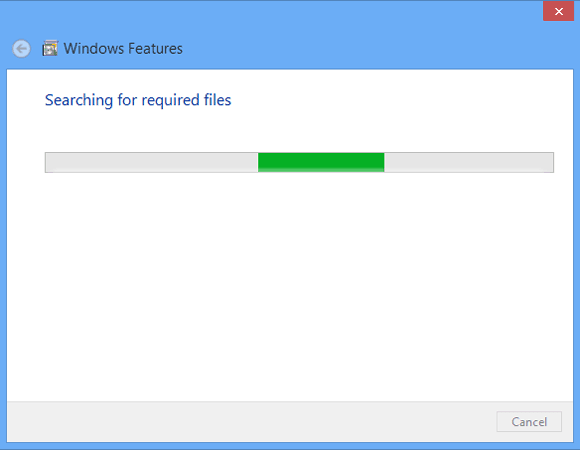
4. Windows Features will search the required files. Then .NET Framework 3.5 related files will be suggested to download.
Just choose download files.
Tip: We should promise the Internet is available before downloading files.
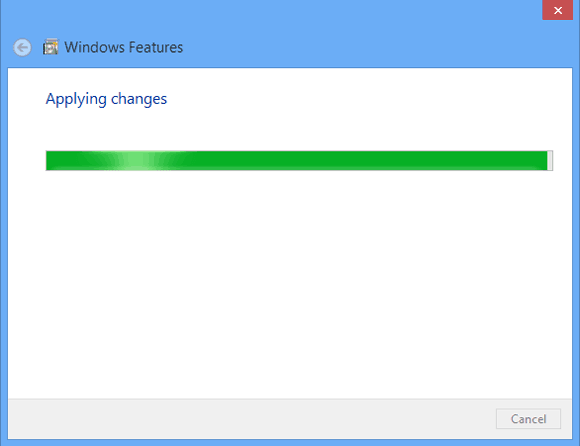
5. After files download, this feature will be ready to turn on. And you can see “Applying changes” message and the progress bar.
If there is no need to download any files, Applying changes progress bar will be seen after you check one of Windows features.
When Windows system completes the requested changes, it will prompt you that reboot computer to finish installing this feature, or just open Windows Features window, you can see the check box the feature you have ever checked, is filled.
Related Articles:


