Although the default system or pre-installed system of Lenovo G480 is Windows 8, you are able to change it to Windows 7 if you think it is unsuitable or inconvenient for you to use. As for how to change Windows 8 to Windows 7 in Lenovo G480, this article will illustrate the guidance explicitly in the paragraphs below.
Step 1: Adjust boot setup.
Firstly, start the laptop, immediately and continuously press F2 on the keyboard to enter the Phoenix SecureCore Tiano Setup interface.
Secondly, select Boot with right arrow, move to Boot Mode with down arrow and change the mode from UEFI to Legacy Support by Enter key and arrow key.
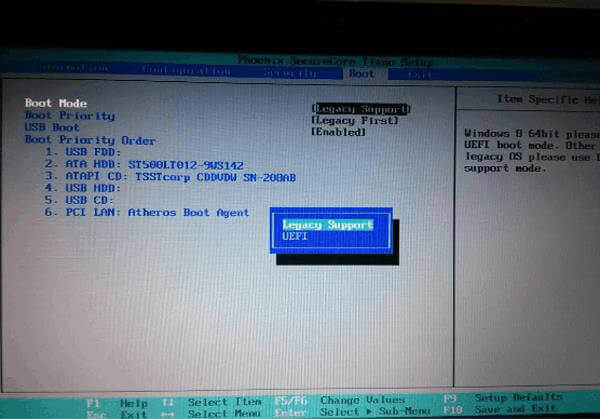
Thirdly, use down arrow to choose Boot Priority and set it as Legacy First.
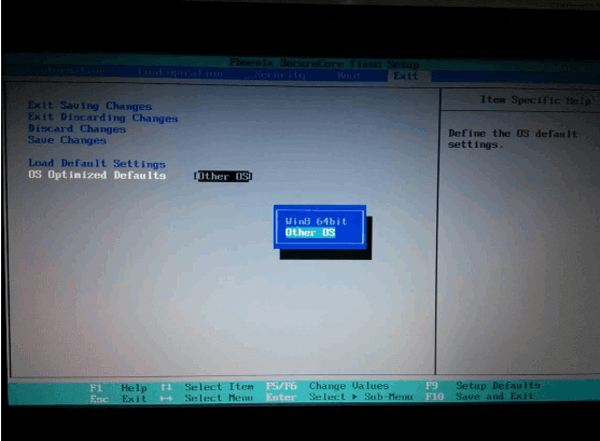
Fourthly, select Exit in the menu bar, choose OS Optimized Defaults and set it as Other OS.
Step 2: Modify disk format as MBR.
Before modification, you are strongly suggested to backup the data in all disks. Then you can follow the procedures below to change disk format.
1. Boot the laptop from Windows 7 installation disk and enter into system installation interface.
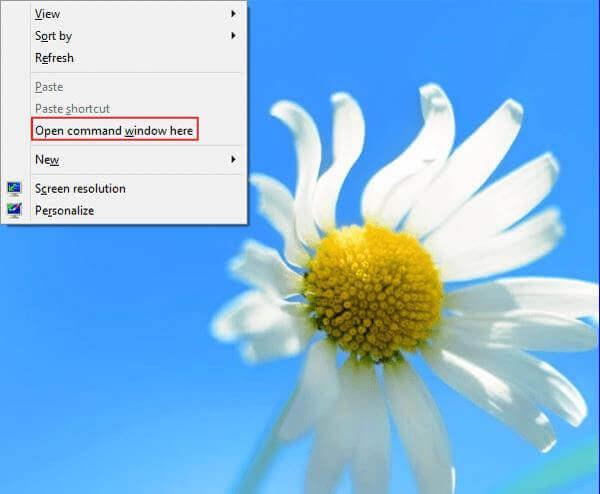
2. Open cmd window. You can press Shift+F10 and click Open command window here.
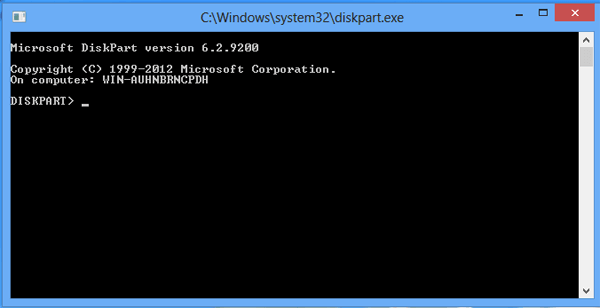
3. Type diskpart and press Enter. Then, the diskpart.exe is enabled, as shown in the following screenshot.
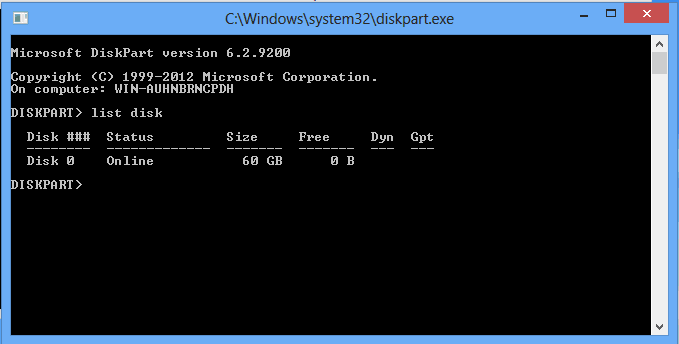
4. Input list disk and click Enter.
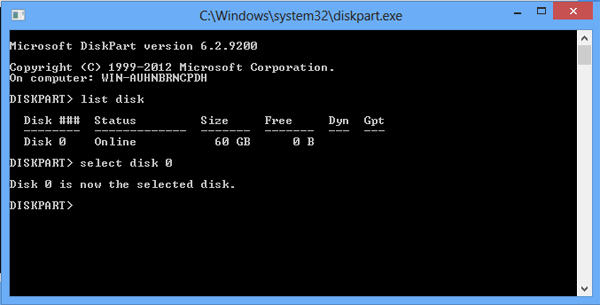
5. Type select disk 0 and tap Enter.
6. Input clean and press Enter.

7. Type in convert mbr, click Enter and then close the cmd window.

Step 3: Install Windows 7 according to the normal method and procedures.
In a word, if the default system or pre-installed system of your Lenovo G480 laptop is Windows 8 and you unlike it, you can change it to Windows 7 in accordance with the above-described steps.
Related Articles:
