“My old Acer Aspire comes with 256GB hard drive, which can not satisfy my basic needs now. I want to upgrade the hard drive to 1TB SSD. However, I do not want to lose any data and reinstall Windows and software. Is there a way for me to do that?”
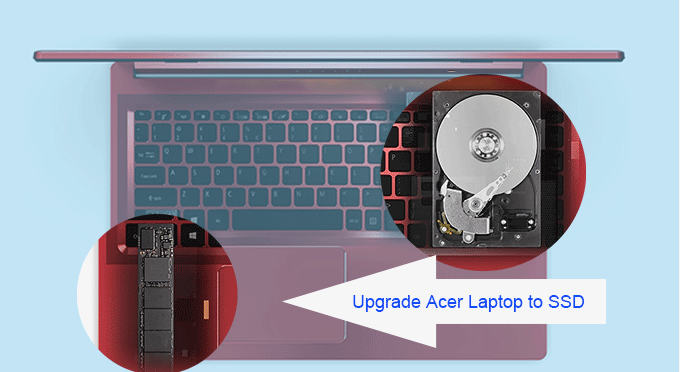
It is common for people to upgrade the laptop hard drive to a larger SSD. In this article, we will walk you through the whole process of the Acer Aspire SSD upgrade without reinstalling Windows.
- Part 1: Make Full Preparation for the Acer Aspire Hard Drive Upgrade
- Part 2: Clone the Hard Drive Data to the Larger SSD with iSunshare CloneGo
- Part 3: Replace Your Acer Aspire Hard Drive with SSD

Part 1: Make Full Preparation for the Acer Aspire Hard Drive Upgrade
First of all, you need to double-check whether you have all below tools:
- The new SSD with larger space
- The hard disk cloning software for Windows users
- Small Philips head screwdriver
- 5’’ SATA III enclosure
After that, you can install the SSD into your SATA hard drive enclosure so that you can resort to the enclosure to build the connection between the Acer Aspire laptop and your SSD. Additionally, you need to initialize the SSD and add new simple volume to it after it is recognized by your computer.
Part 2: Clone the Hard Drive Data to the Larger SSD with iSunshare CloneGo
iSunshare CloneGo is used here as the hard disk cloning software to clone everything from Acer Aspire laptop hard drive to the new SSD. It is simple to perform the disk cloning with iSunshare CloneGo. A free trial is offered for Windows users.
Step 1: After downloading the software, install it instantly.
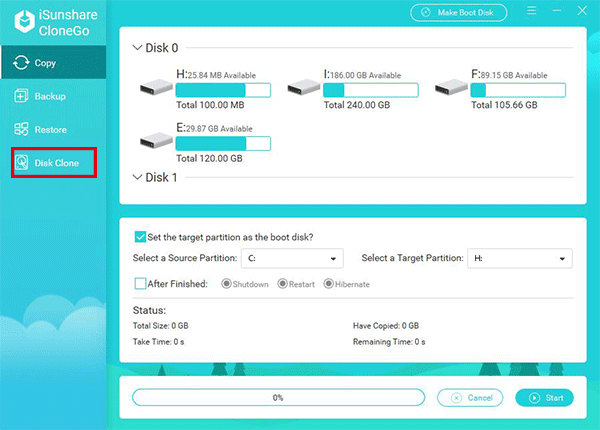
Step 2: Launch the software and click “Disk Clone” to start.

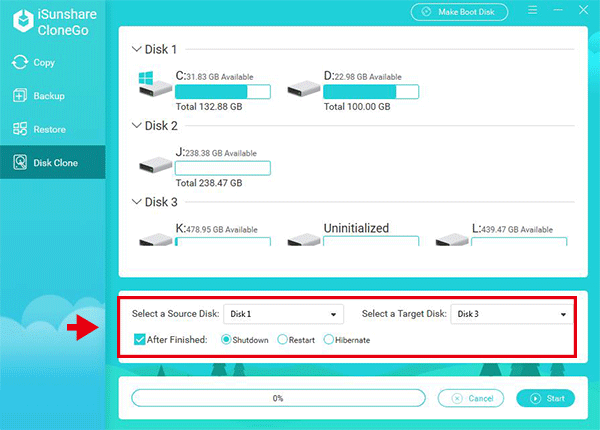
Step 3: In this interface, you can view all disks and their volumes to the computer. Select your Acer laptop hard disk as the source disk, and your SSD as the target disk. At the same time, you can set the computer to shutdown after the cloning process ends.

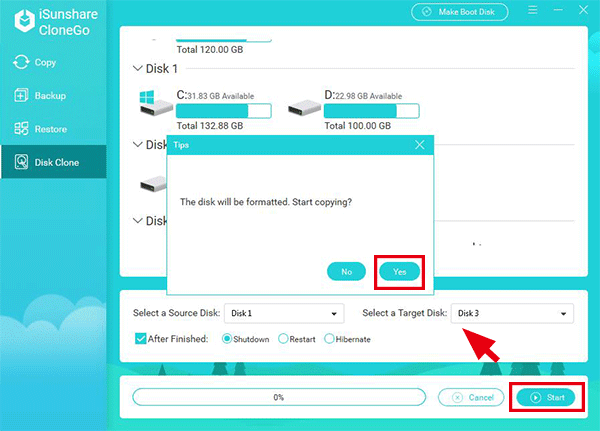
Step 4: Click the Start button and you will get a message that informs the target disk formatting. Click Yes to proceed.

After that, you can leave the software running the disk cloning process automatically. After it finishes, it will make your computer shut down and it is no need for you to view the process all the time.
Part 3: Replace Your Acer Aspire Hard Drive with SSD
After cloning, the SSD is now identical to the hard drive of the Acer laptop. As the computer is shut down, you can unplug the power, remove your laptop battery, and uninstall the old hard drive. Then, you can take out the SSD from the enclosure and make it installed into the laptop. If there are two slots for the hard drive on your Acer laptop, you can directly install the SSD on your laptop and keep your original hard disk on the computer. Besides, do not forget to put the battery back and then plug-in power. Finally, restart your computer and then change the boot order or even the boot mode to make the SSD bootable.
Related Articles:
